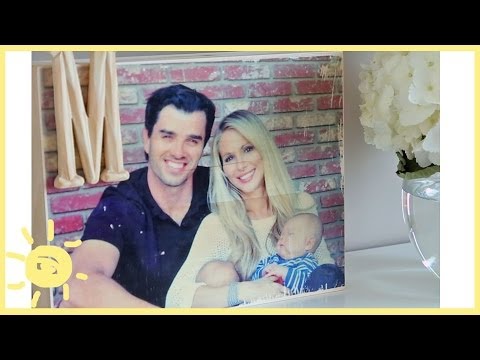
DIY | Photo Transfer to Wood!
I’m obsessed with this craft and I think you will be too! Try it out and let me know how it goes. =) Subscribe for DIY every Friday! http://bit.ly/sub2moms
Supplies:
~Wood surface
~Photo (from laser printer, printed on regular paper)
*you can get a laser color copy of any photo made at FedEx office or any office supply store for @ .$50
~Liquitex gloss gel medium
~Paint brush
~ Ruler or straight edge to remove any air bubbles
~Old rag and water to remove paper at the end
~Mod Podge (antique or matte finish are the most popular for this project)
~Any embellishments you want to add to personalize
Tips:
1. Use regular paper, NOT photo paper printed from a laser printer or copier.
2. You can rinse the wood under the faucet to help remove the last traces of the paper.
3. Wipe down the wood with furniture polish (old English) to make sure the surface is completely clean before applying the sealer (mod podge).
4. Use the back side of the wood if you mess up instead of starting with a new piece.
Special thanks to my sister-in-law Kelly Mahan for taking these gorgeous photographs of our family. Check out more of her beautiful work at kellymahanmedia.com. She is based in Santa Barbara and Los Angeles, CA
Thank you for making us the #1 Parenting Channel on YouTube!
Follow What’s Up Moms on:
Facebook: https://www.facebook.com/WhatsUpMoms
Instagram! http://instagram.com/whatsupmoms
Twitter: http://www.twitter.com/whatsupmoms
Pinterest: http://www.pinterest.com/whatsupmoms
Follow Brooke on Instagram: http://instagram.com/bmahan519
Follow Brooke on Pinterest: http://www.pinterest.com/bmahan519/
We provide our videos for entertainment and promotional purposes only. It is your responsibility to evaluate the accuracy, timeliness, completeness, or usefulness of the content, instructions and advice contained in our videos. WUM is not liable for any loss or damage caused by your reliance on anything contained in our videos.


