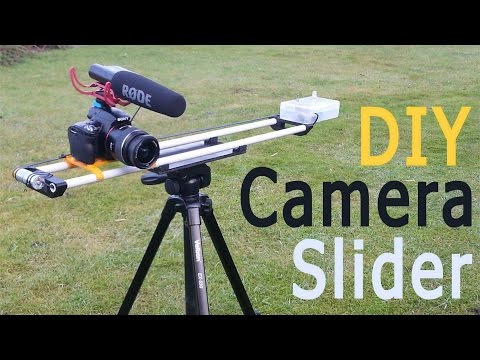
DIY Motorized Camera Slider – Cheap and Simple!
I learned so much making this DIY camera slider from scratch! You can find links to everything down below!
DC motor: http://www.gearbest.com/development-boards/pp_70990.html?wid=21&lkid=10328205
Speed controller: http://www.gearbest.com/other-accessories/pp_463280.html?wid=21&lkid=10328415
Timing belt: http://www.gearbest.com/3d-printer-parts/pp_540279.html?wid=21&lkid=10328209
2-way switch: http://www.gearbest.com/development-boards/pp_170815.html?wid=21&lkid=10328210
STL FILES: http://www.thingiverse.com/thing:2048438
Shooting videos alone can be rather difficult, with both hands busy it can occasionally become a serious problem. This machine will definitely help me out in every single video! Hopefully it will also make the videos more interesting to watch.
I used a CAD software called Fusion 360 to design my 3D parts. This includes the two main brackets that will support the 16mm PVC pipes. I also designed a pulley for the DC motor, a tripod adapter and the sliding unit.
I used my Anet A8 and printed the parts with black and orange colors. Here’s the settings:
Layer height: 0,3mm
Infill: 25%
Temp extruder: 200 degrees Celcius
Temp bed: Off
Speed: 60mm/s
Support: No
If you enjoyed watching the video, please consider subscribing and support me through Patreon for more awesome projects and reviews: https://www.patreon.com/rclifeon
Music:
Canvai – Weeks
Canvai – Kites
Used camera:
Sony Alpha a55
Iphone 6
Runcam 2
Video editing program:
LightWorks


